

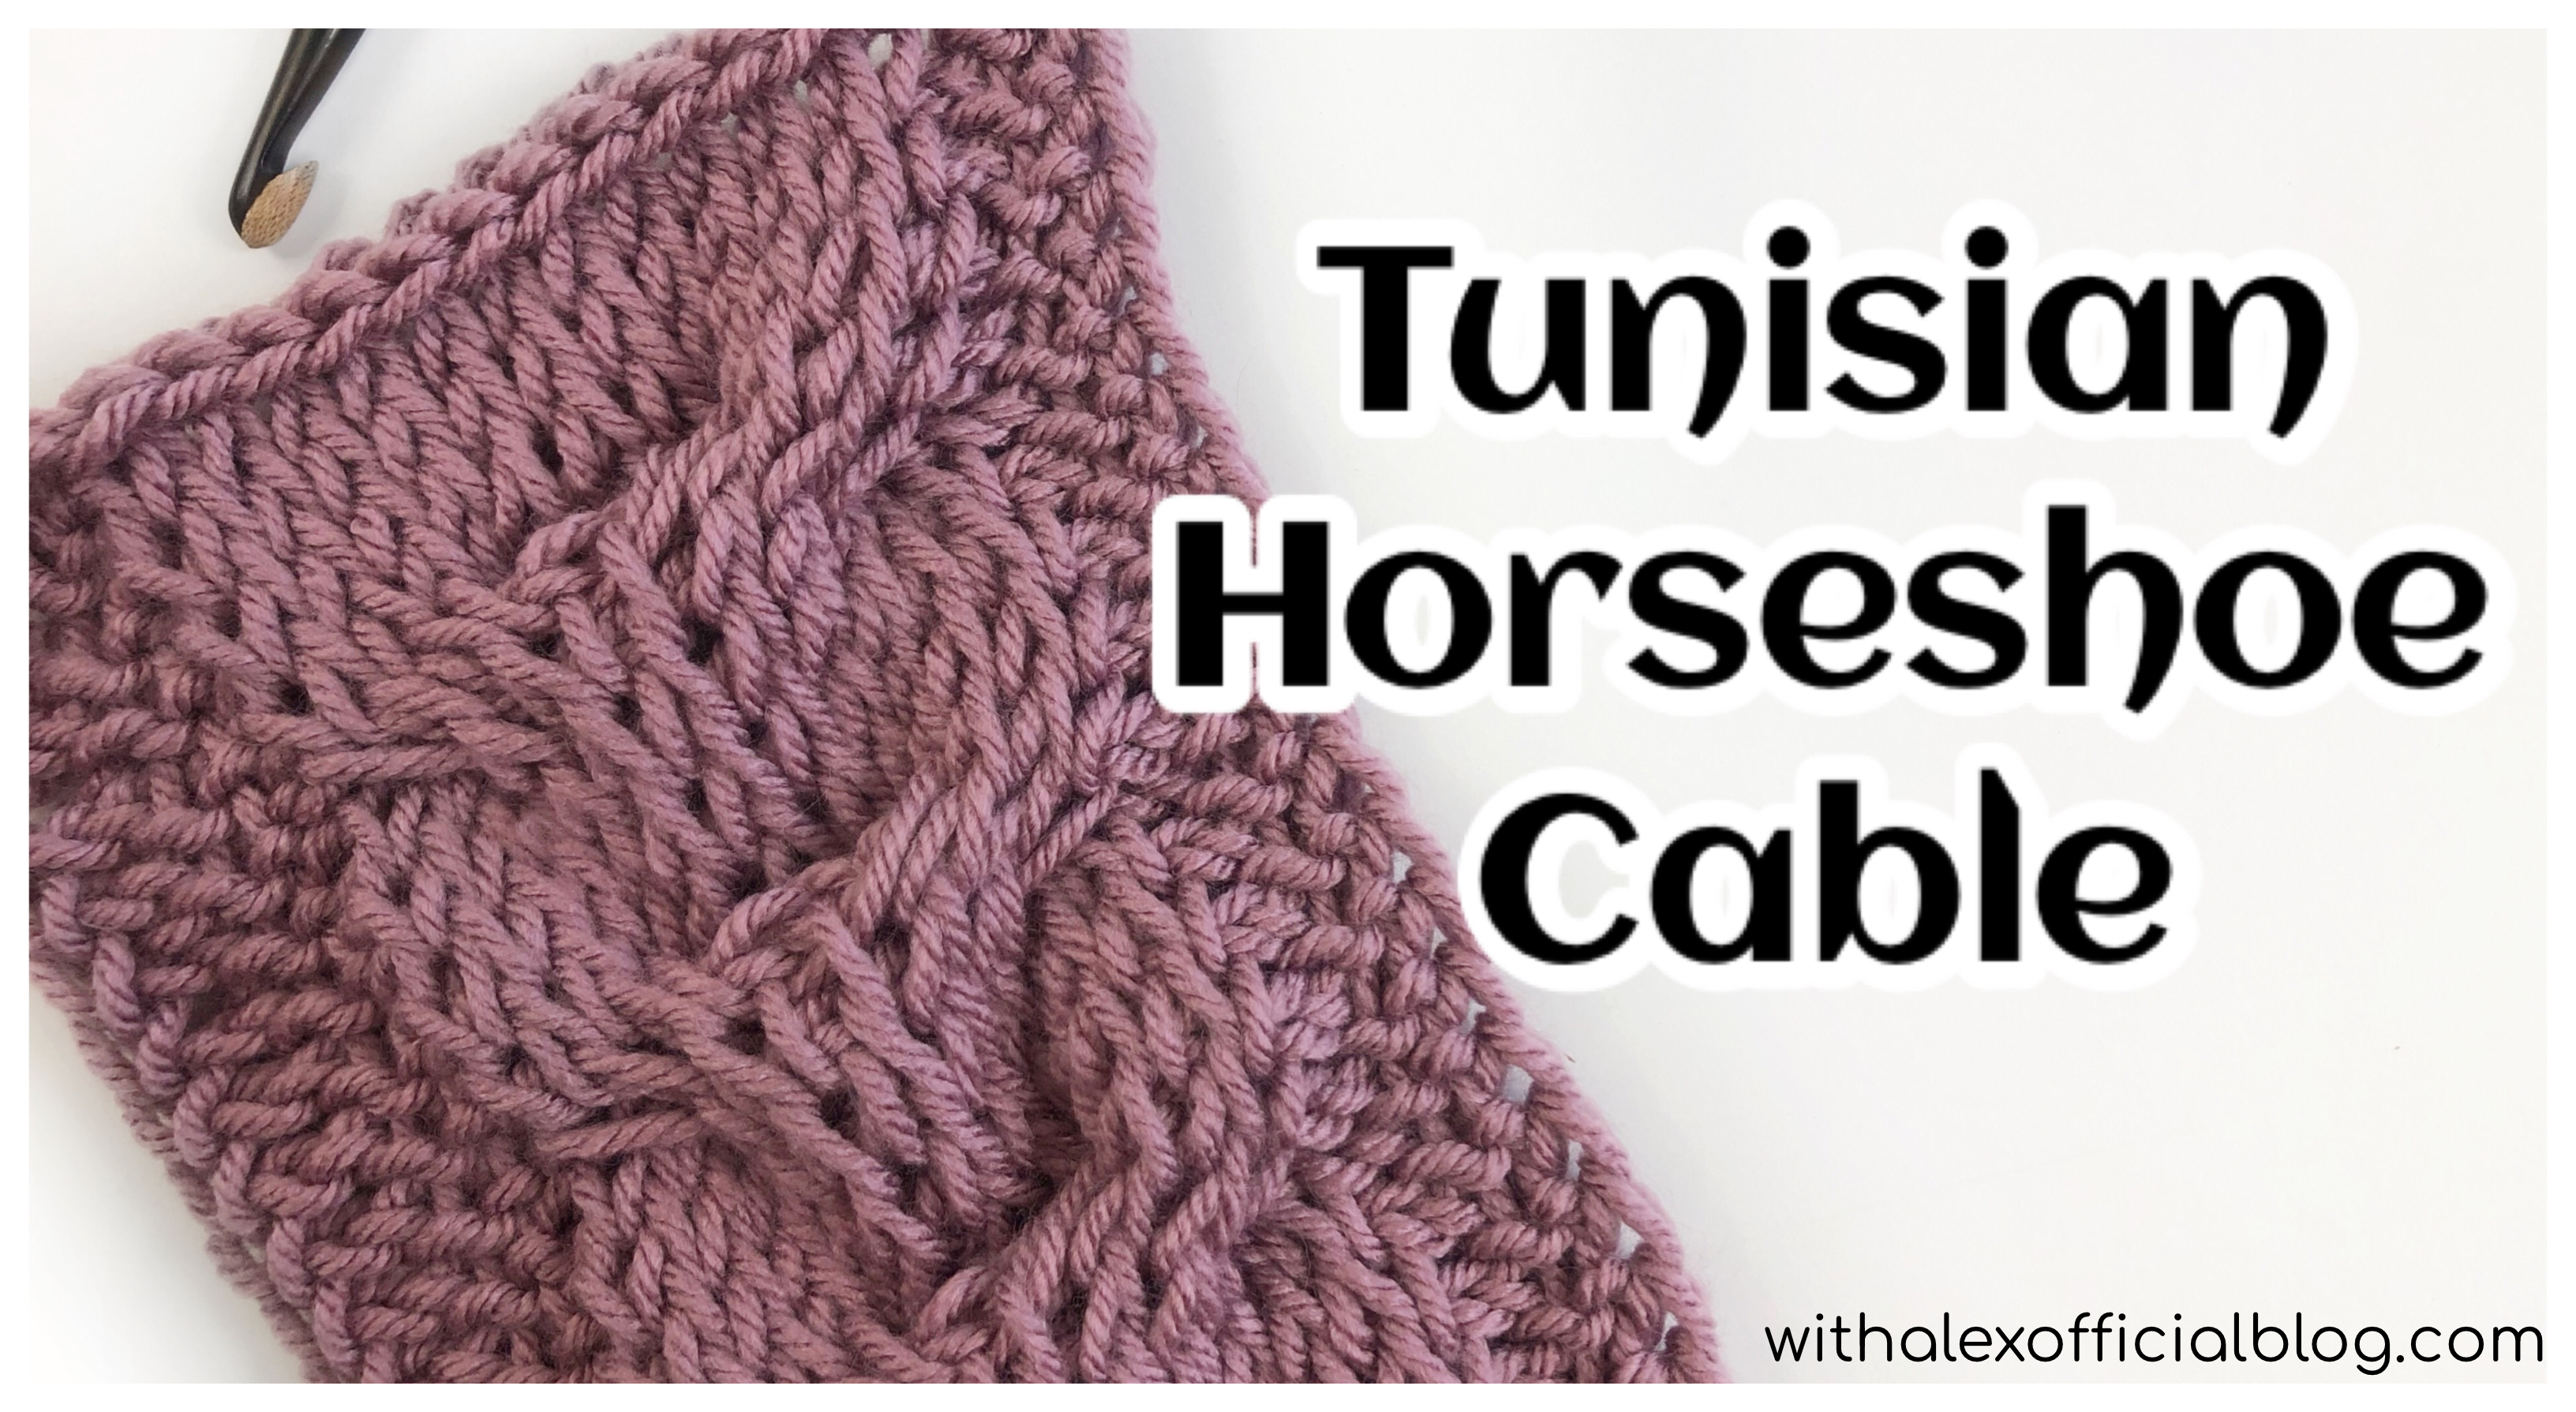
Hello! Today I have a new cable tutorial and pattern to add to my Tunisian Crochet Cable Series! Learn more about this series here. The Horseshoe Cable is a beautiful cable that can either be made with a second crochet hook or with a cable stitch holder. Scroll down for the free pattern and tutorial.
I love the texture that the Horseshoe Cable creates and I think it would be a wonderful addition to headbands, scarves, shawls and more!

YARN USED
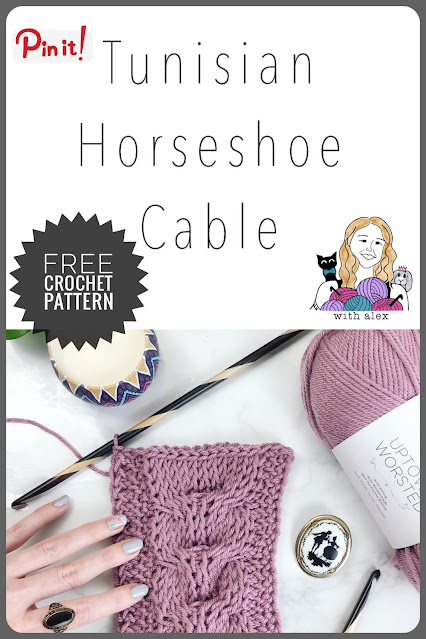
Today I used Uptown Worsted for this project. I love using this yarn because it is so soft and there are so many beautiful colors to choose from.
- Universal Yarn Uptown Worsted
- Antique Rose
- Medium 4 Weight
- 100% anti-pilling acrylic
- 100g/180yds/165m

Disclaimer: Universal Yarn sent the yarn support for this series. There may be affiliate links in this post. This means that if a purchase is made through my link, I will get a small percentage but the price does not change for the customer.

TOOLS USED
- Size K (6.5 mm) Furls Tunisian Hook or other suitable hook
- Clover Cable Stitch Holder
- OR second crochet hook similar in size to the tunisian hook
- Clover Stitch Marker (for marking cable rows)


THE HORSESHOE CABLE
US Terminology
Difficulty
Intermediate
Size
4.5" wide in medium 4 weight yarn
Gauge
7 sts and 7 rows = 2 inches in pattern
*Gauge may be different if using a different weight yarn.*
Materials
- Universal Yarn Uptown Worsted in Antique Rose
- Medium 4 Weight Yarn
- 100% anti-pilling acrylic
- 100g/180yds/165m
- Size K 6.5 mm tunisian hook or hook without a handle
- Cable stitch holder or second hook in similar size to the tunisian hook
- Stitch marker: for marking cable rows
- Scissors
- Darning needle
Abbreviations
- ch: chain
- yo: yarn over
- st(s): stitch(es)
- tks: tunisian knit stitch
- tps: tunisian purl stitch
- RC: right cross
- LC: left cross
Notes and Other Tutorials
- This pattern can be worked with a regular hook that has no handle.
- Do not turn your work at the beginning of each row. This pattern is worked from right to left (forward pass) and then left to right (return pass).
- The first loop on the hook counts as a tunisian knit stitch throughout this pattern.
- The cable stitch holder can be replaced by another crochet hook. Use one that is either the same size as the main hook or a size as close as possible.
- Other weight yarns can be used for this pattern but it will vary in size.
- Use this pattern to add extra detail on headbands, beanies, cowls, scarves and more.
- Use a stitch marker to mark cable rows, to easily know where you are in the pattern.
To create different looks with this pattern:
- Change the yarn weight and use a suitable size hook.
- Change the number of purl stitches.
- Change the number of rows between the "cable" (R6s) rows.

R1: Forward Pass: ch 18, starting in the 2nd ch from the hook and working in
Return Pass: yo and pull through 1 loop, *yo and pull through 2 loops.
R2: Forward Pass: tks (the first loop), tps into the next 2 sts, tks into the next
Return Pass: yo and pull through 1 loop, *yo and pull through 2 loops.
R3-R5: Repeat R2.
R6: Forward Pass: tks, tps into the next 2 sts, 3/3 RC, 3/3 LC, tps into the next
Return Pass: yo and pull through 1 loop, *yo and pull through 2 loops.
Repeat R2-R6 until the desired length.
Bind Off.
The end!
