

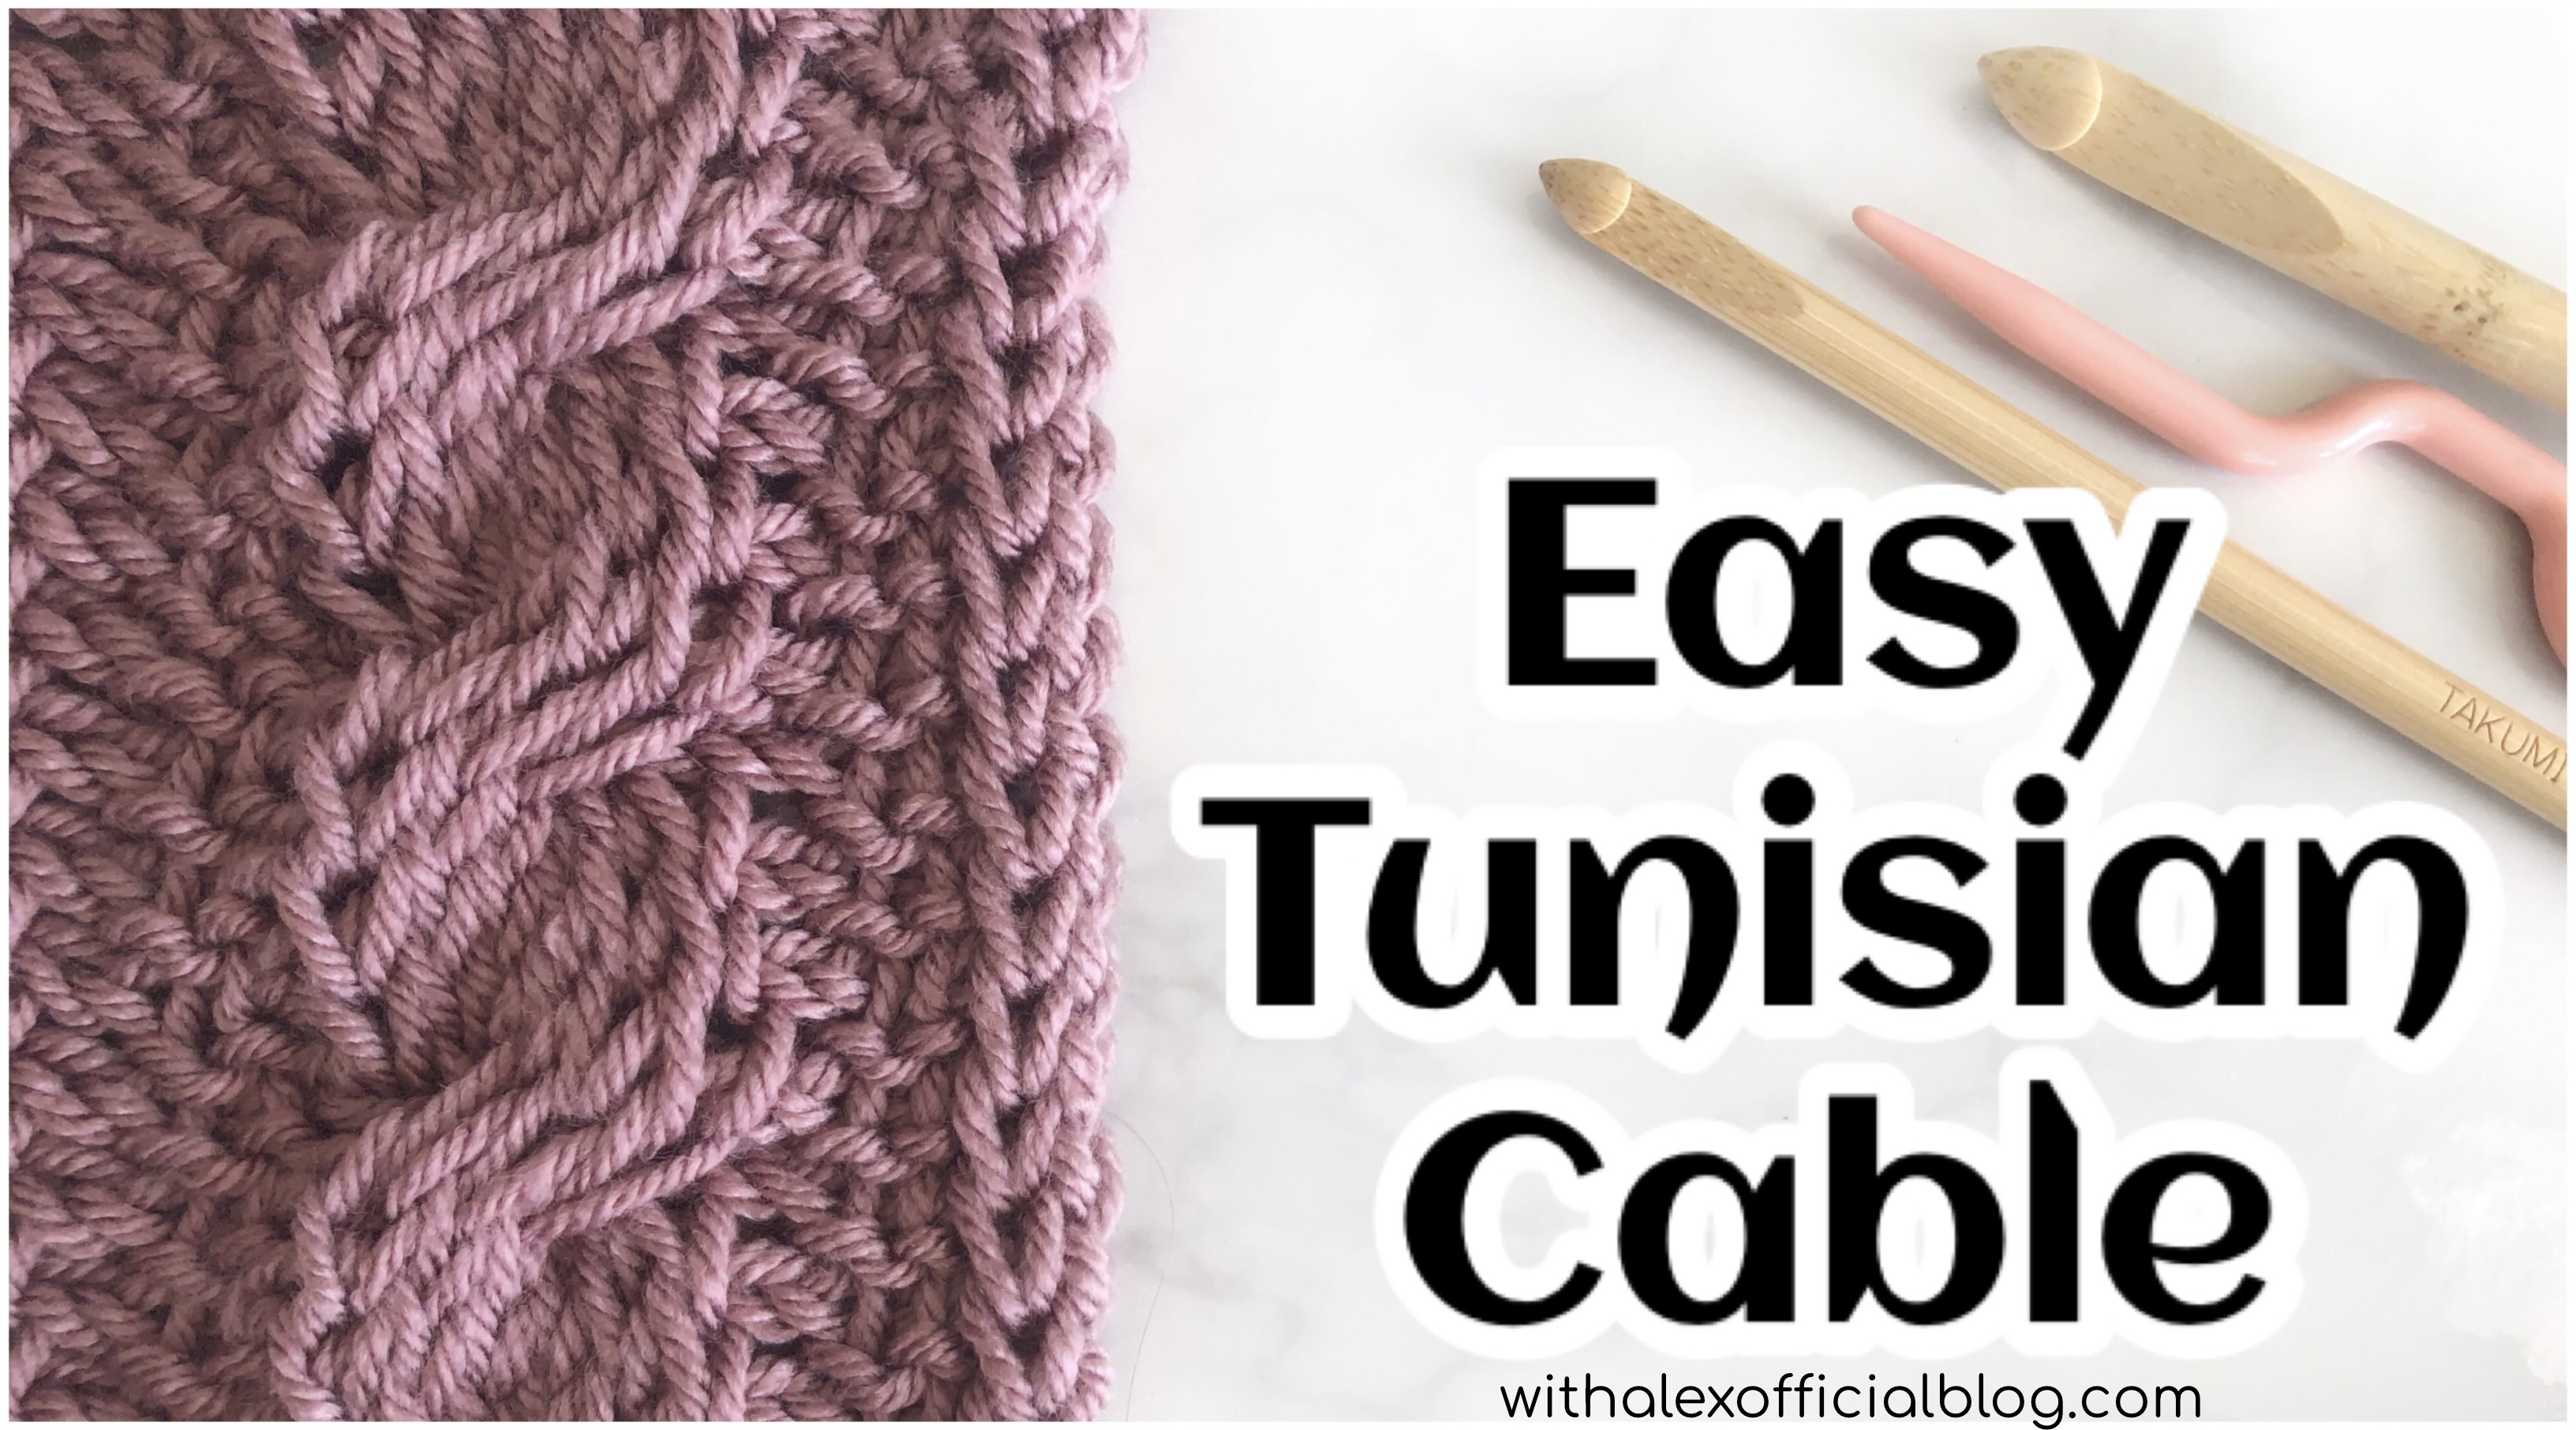
Hi all! Today I have new video tutorial and pattern to continue my Tunisian Crochet Cable Series! This easy tunisian crochet cable is fun and so pretty. Watch the video tutorial or use the written pattern to add beautiful texture to your tunisian crochet projects! Use a regular hook to practice and either use a second hook or a cable stitch holder for the cable. Scroll down for more information, the pattern and the tutorial.
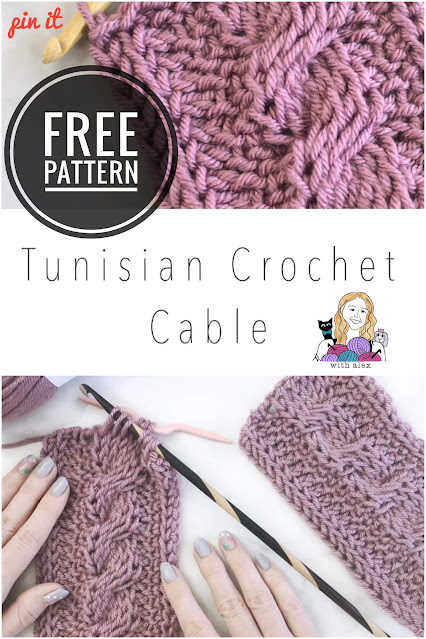
This easy cross over cable can be used in many ways for different looks. Add it to your scarf, beanie, cowl or whatever you would like for a wonderful touch of beautiful texture.
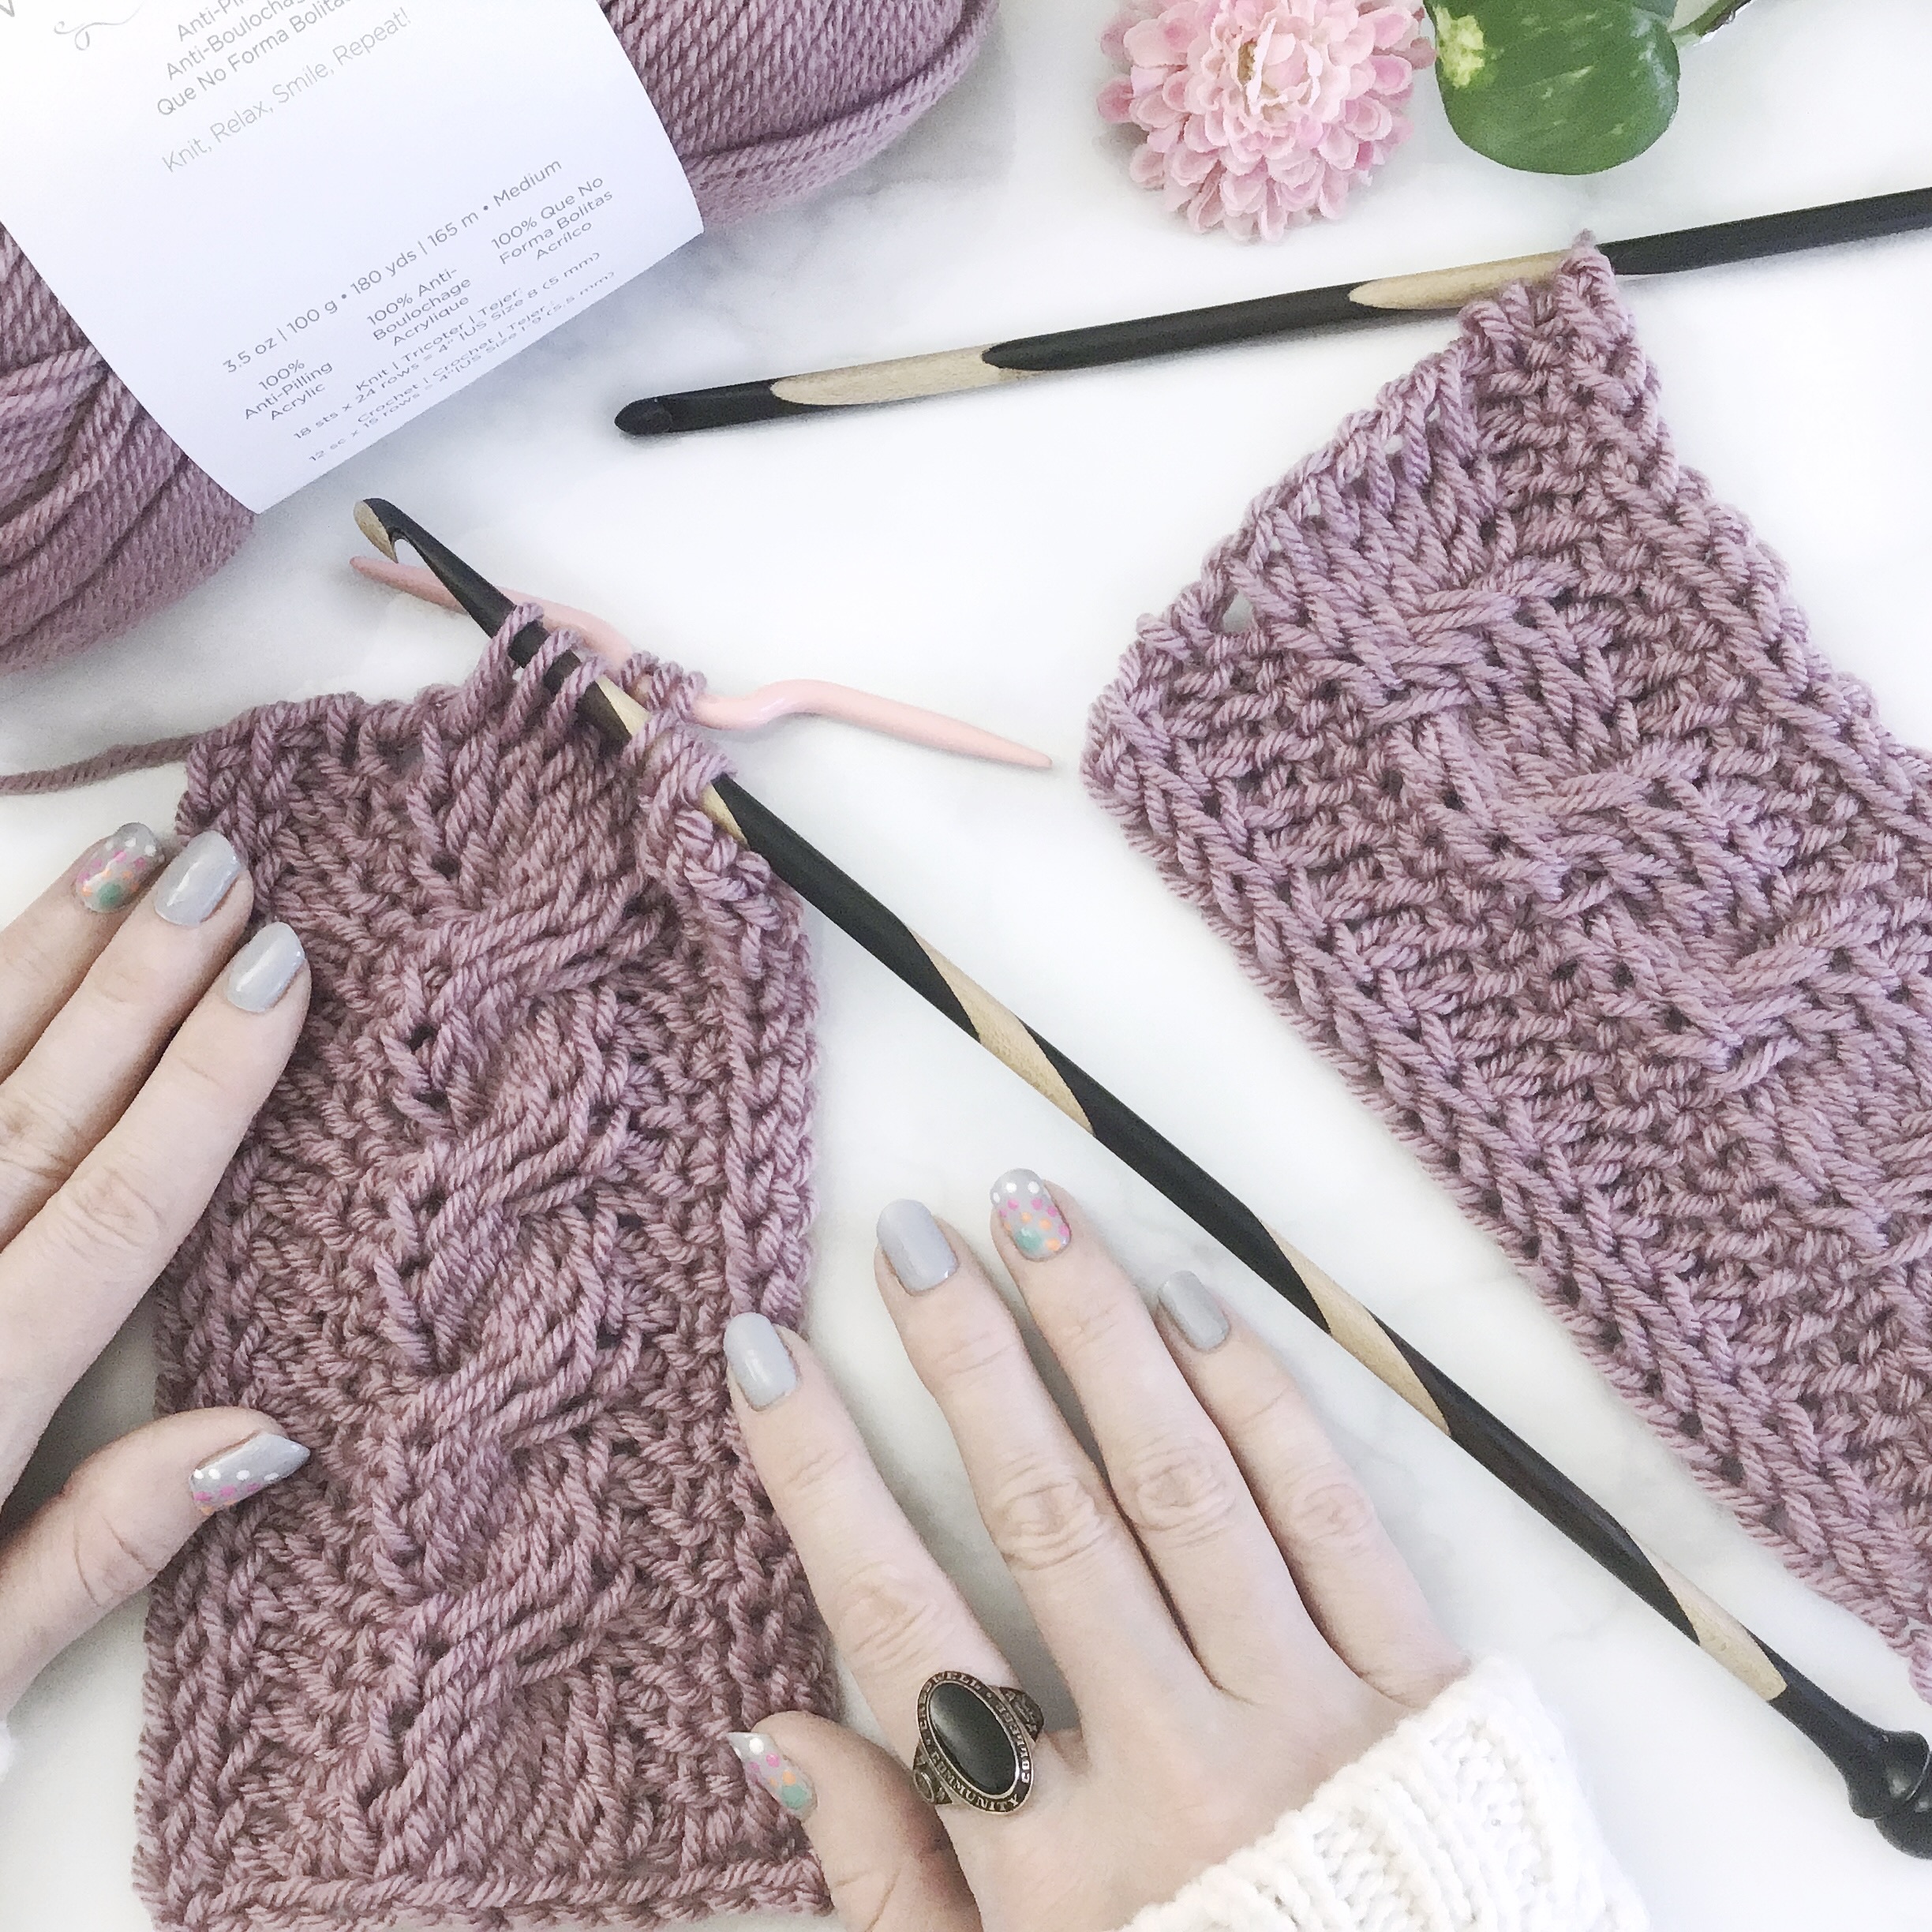
There are two versions of this cable. The RC or Right Cross crosses over the front and slants to the right.

The LC or Left Cross crosses over the front and slants to the left.

Use one or both of these versions in your projects for different looks. Play around and see what you like best!
I used both in my Alex In Cable Land Shawl, one on the right side of my shawl and the other on the left side of the shawl. Click here for the free pattern, click here to purchase an ad free pdf on ravelry, and click here for the free video tutorial.


TOOLS USED
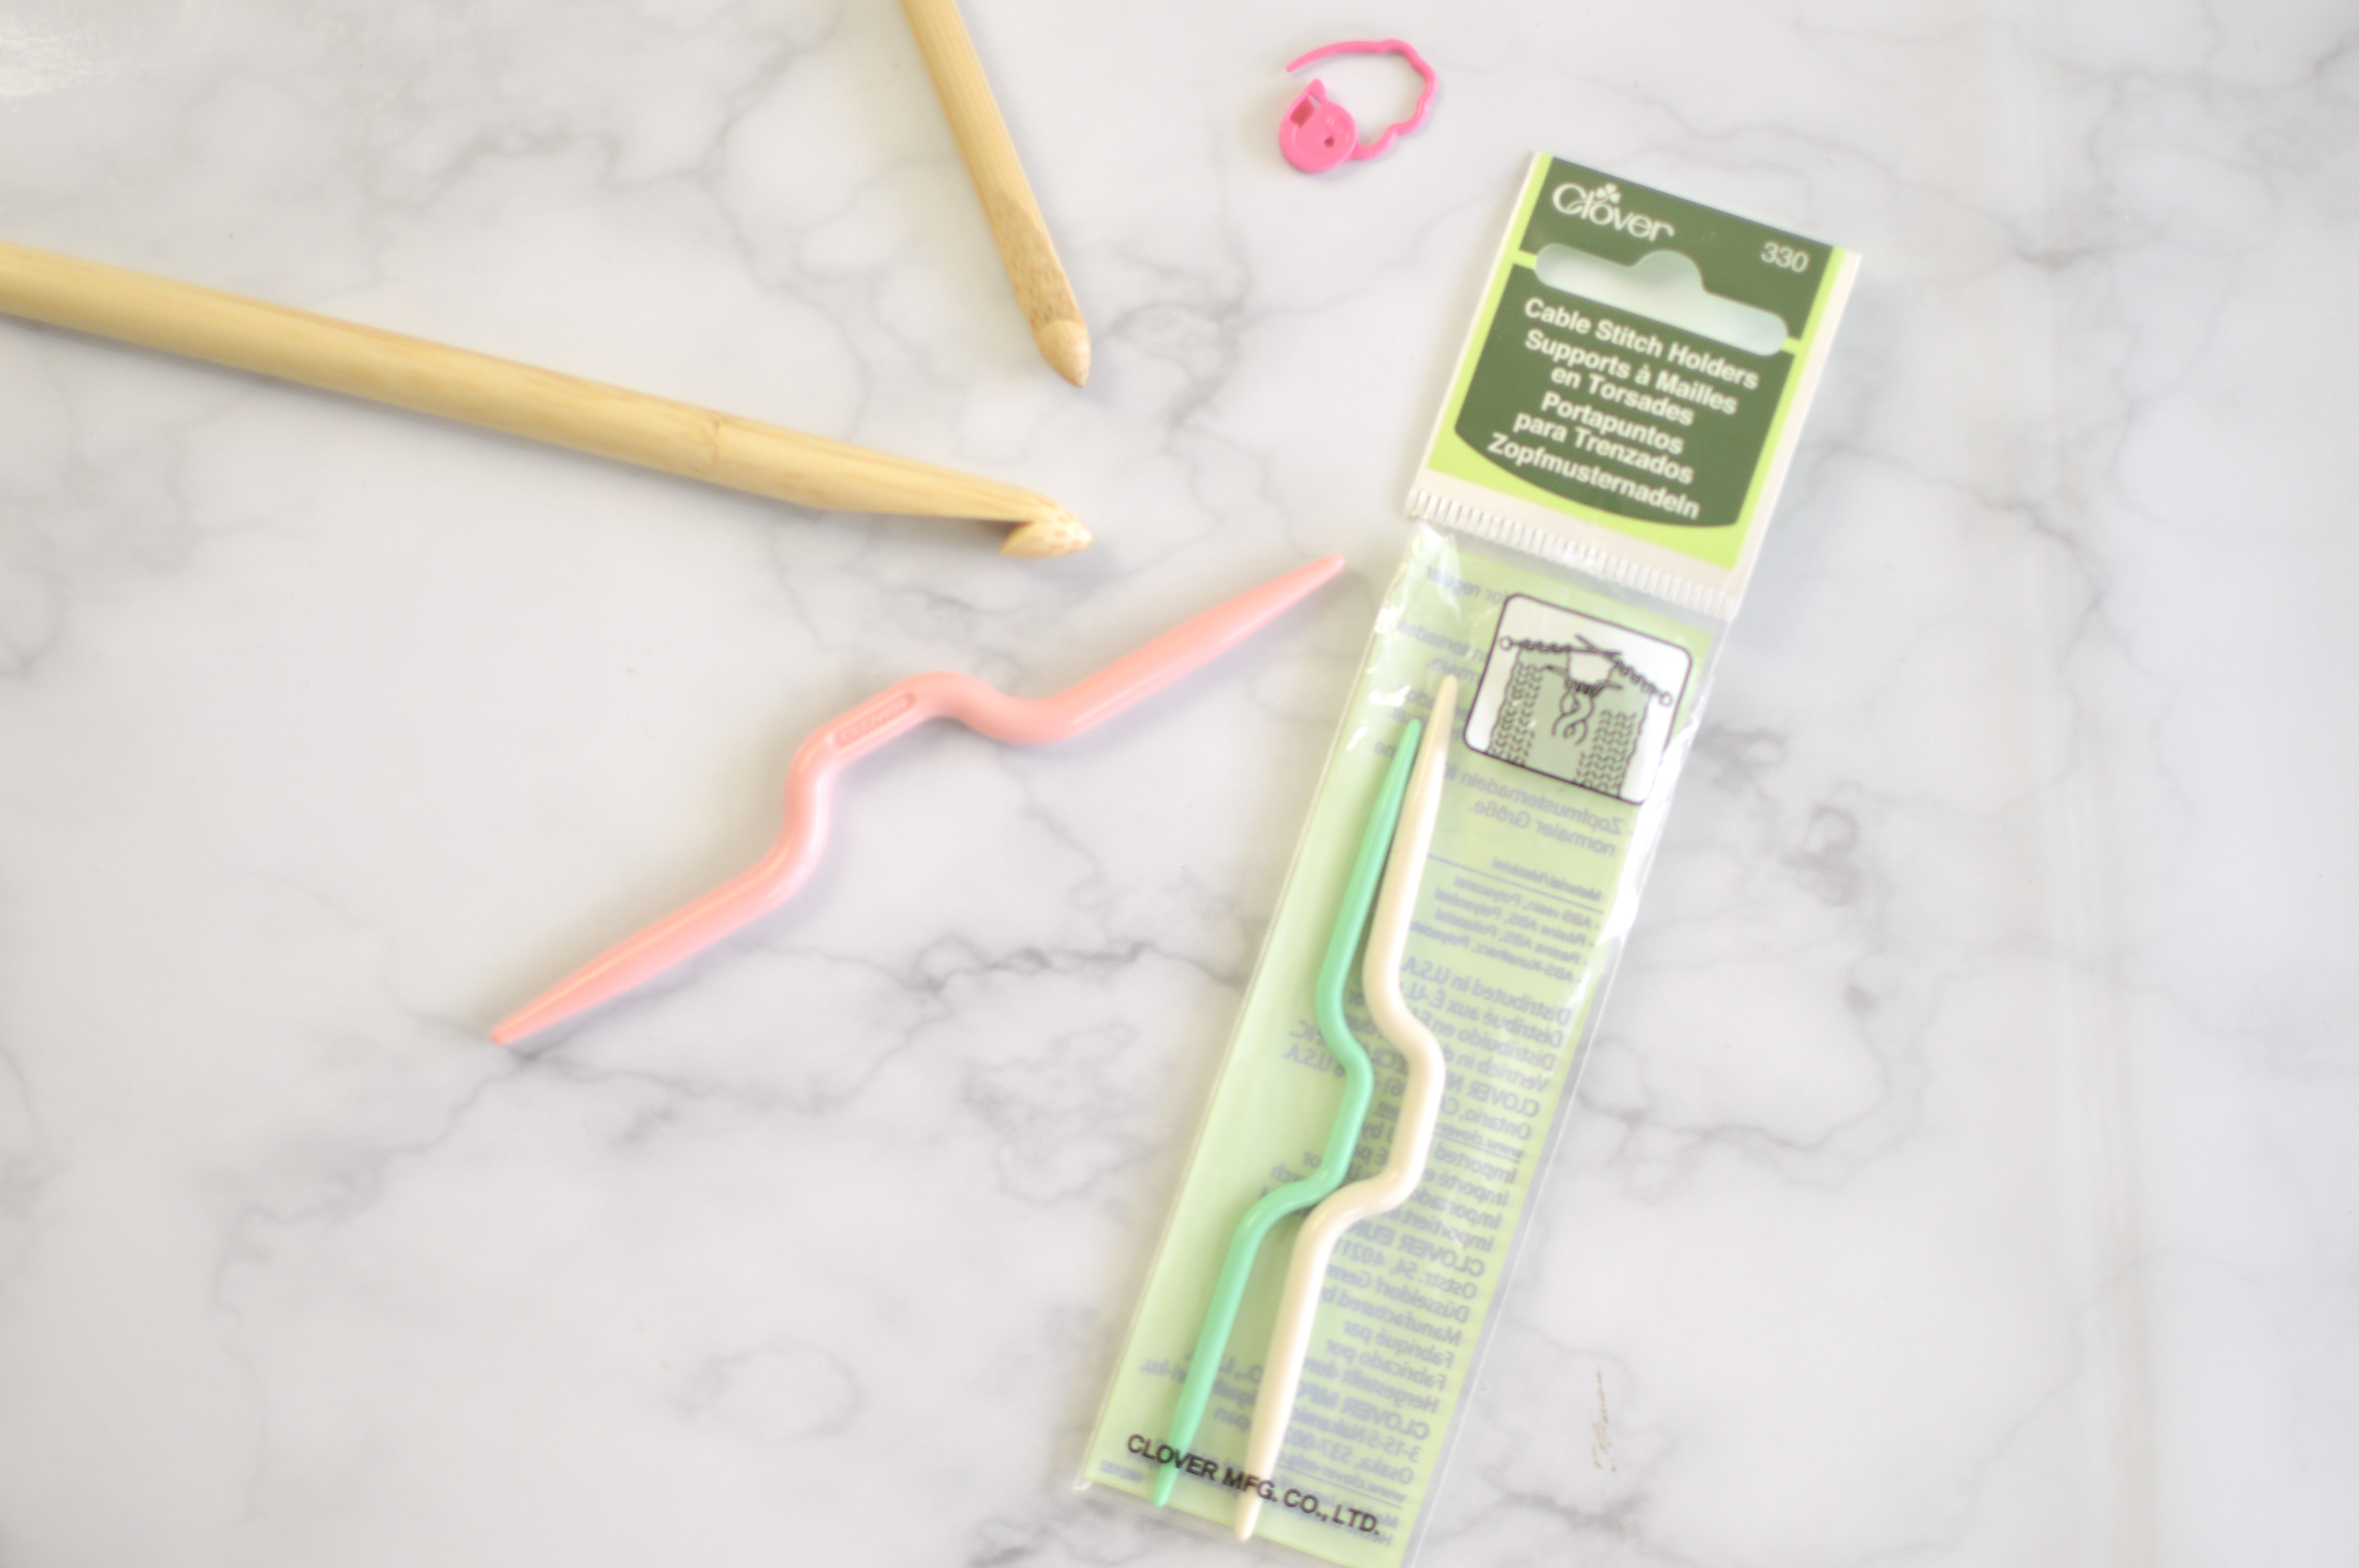
- Size K (6.5 mm) tunisian hook by Clover
- Clover Cable Stitch Holder
- OR Size (J 6.00 mm hook or similar size to the tunisian hook
- Clover Stitch Marker (for marking cable rows)
YARN USED
Today I used Uptown Worsted for this project. I love using this yarn because it is so soft and there are so many beautiful colors to choose from.
- Universal Yarn Uptown Worsted
- Antique Rose
- Medium 4 Weight
- 100% anti-pilling acrylic
- 100g/180yds/165m

Disclaimer: Universal Yarn sent the yarn support for this series. There may be affiliate links in this post. This means that if a purchase is made through my link, I will get a small percentage but the price does not change for the customer.

US Terminology
Difficulty
Intermediate
Size
The swatch measures 3.75" wide.
Gauge
6 rows and 7 sts = 2" in pattern.
Materials
- Size K (6.5 mm) tunisian hook or hook without handle
- Cable Stitch Holder or another crochet hook
- Universal Yarn Uptown Worsted or other suitable yarn
- Medium 4 Weight, 100% anti-pilling acrylic, 100g/180yds/165m
- Scissors
- Darning needle
- Optional: Stitch marker (for marking cable rows)
- ch: chain
- yo: yarn over
- st(s): stitch(es)
- tks: tunisian knit stitch
- tps: tunisian purl stitch
- 3/3 RC
- 3/3 LC
- How To Tunisian Crochet In 3 Minutes
- Easy Tunisian Crochet Cable
- 3/3 RC and LC
- Tunisian Knit Stitch
- Tunisian Purl Stitch
- Bind Off
Notes
- There are two versions of this pattern.
- The RC or Right Cross: crosses over the front to the right.
- The LC or Left Cross: crosses over the front to the left.
- This pattern can be worked with a regular hook that has no handle.
- Do not turn your work at the beginning of each row. This pattern is worked from right to left (forward pass) and then left to right (return pass).
- The first loop on the hook counts as a tunisian knit stitch throughout this pattern.
- The cable stitch holder can be replaced by another crochet hook. Use one that is either the same size as the main hook or a size as close as possible.
- Other weight yarns can be used for this pattern but it will vary in size.
- Use this pattern to add extra detail on beanies, cowls, scarves and more.
To create different looks with this pattern:
- Change the yarn weight and use a suitable size hook.
- Change the number of purl stitches.
- This cable uses 6 stitches to create it but you can change the number of stitches to make the cable wider or shorter.
- Change the number of rows between the "cable" (R5s) rows.
- Use both cross overs in the same pattern. Alternate between using the right cross method and the left cross method.

THE PATTERNS
