


Last fall I won some gorgeous yarn from Celestial Strings and it came in the beautifully twisted hanks that still need to be wound. I ordered a yarn winder and I used Sean (my boyfriend) as a swift to wind one of the hanks so that I could use it for a Christmas present. The other hanks have been patiently waiting to be wound. For Christmas my dad got me a yarn swift so, a few days later I decided to wind the hanks for a future project. Scroll down for the picture tutorial on how to wind yarn with a yarn swift and winder or click here for the video tutorial.
My beautiful yarn from Celestial Strings.

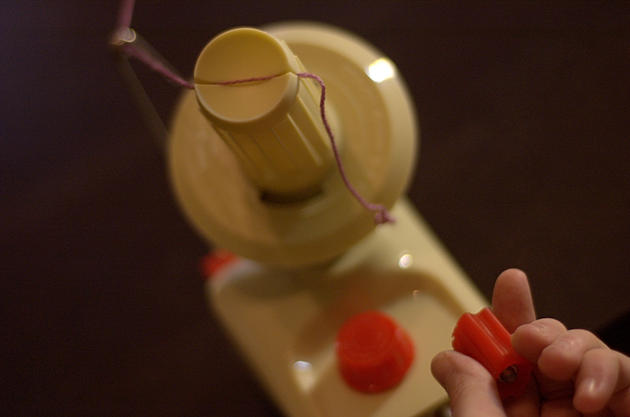
First, I set up my yarn winder and the yarn swift. I use the clamps on the bottom of the swift and winder to attach them to a flat surface like my dining table. I also attach the spindle to the base of the yarn winder by sliding it on and turning it clockwise until it stops. Then I pull out the yarn guide on the winder and twist it until the end with the hole is up and it locks in position.
The yarn winder that I have is a generic one off of ebay and the official name of it is awool winder. The swift that my dad got for me is the Lacis 60 inch umbrella swift. So far both work very well and I am very happy with them.


Next I prepare the twisted hanks by untwisting them until they look like a big circle.


Then I lightly loop the big circle of yarn over the yarn swift without pulling on it too hard.


Next I open the swift like an umbrella by squeezing the black button and pushing upward until the circle of yarn is taught. (Other swifts may have a different button.)


Now I cut the ties around the yarn with scissors. There may be 1, 2 or more ties tied around the yarn spaced around the circle of yarn to keep it from tangling.

After cutting the ties I like to make sure the circle of yarn is neatly arranged on the swift.

Then I cut the yarn ends that are tied together or sometimes I just untie the knot if I'm able to.


After that I figure out which yarn end is the one on the outside that can be pulled to unwind the circle of yarn. Then I unwind a full circle of yarn to make sure it is the right one to use. After that I place the end of the yarn into the slit in the top of the yarn winder.


I also take the yarn and thread it through the yarn guide.

TIP: If the yarn guide is loose, I place a bit of tape at the bottom of it to keep it steady and from falling over while I wind yarn. I don't use much and then I pull it off when I store my winder. I like to stick the tape to the side of the winder to use next time.

Now it's time to start winding.
First I pick up the yarn between the winder and the swift and I hold it very loosely (just enough to let it run through my fingers while I wind the yarn. This is for a number of reasons.)
TIP: If you need to stop winding yarn at any time, don't forget to stop the umbrella swift from spinning. It will wrap the yarn around the middle pole if you do not stop it.

And then I use the handle of the winder to start winding my yarn.
And wind and wind the yarn.

This is a video of me winding yarn on a different day.

After I am done winding the yarn into a cake I like to pull the center string out. This is the end that I use when crocheting.

Now I pull the yarn cake off of the winder.
TIP: If I have the label to the yarn I fold it up or roll it up and stick it in the center of the yarn as I pull the yarn off the winder.

And TaaaaaDaaaaa!!!
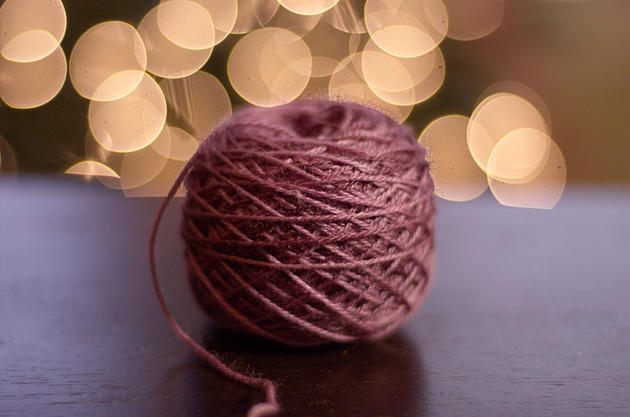
I have pretty little yarn cakes that are easy to use when crocheting or knitting!

I really hope you liked this little tutorial.
Soft hugs <3
Coming soon: How I Dyed Yarn With Koolaid


